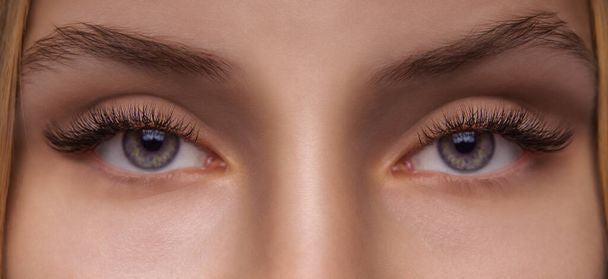
If you’ve been wearing lash extensions for a while, you may be ready to switch things up and try a different look. Or maybe you’re just ready to give your natural lashes a break. Whatever the reason, removing lash extensions at home can be a daunting task if you don’t know what you’re doing. But with the right tools and techniques, you can safely and effectively remove your lash extensions in the comfort of your own home.
Before we dive into the removal process, it’s important to understand that lash extensions are bonded to your natural lashes using a special adhesive. This adhesive is designed to be long-lasting and durable, so it’s not as easy to remove as regular makeup. Attempting to remove lash extensions without the proper tools and techniques can result in damage to your natural lashes, so it’s important to be gentle and careful.
Here’s how to properly remove lash extensions at home:
-
Gather your tools: To remove your lash extensions, you’ll need a few key tools, including a lash extension remover, a lash extension brush, and some cotton pads. You can purchase these items from a beauty supply store or online.
-
Protect your skin: Before you begin the removal process, it’s important to protect your skin and eyes from the lash extension remover. Apply some petroleum jelly or a water-based cream around your lash line to create a barrier between your skin and the remover.
-
Apply the remover: Once you’ve gathered your tools and prepared your skin, it’s time to apply the lash extension remover. Using the lash extension brush, carefully apply a thin layer of the remover to your lash line, making sure to cover all of your lash extensions. Be careful not to get any of the remover in your eyes, as it can be irritating.
-
Wait for the remover to work: After applying the lash extension remover, you’ll need to wait for it to work its magic. This can take anywhere from a few minutes to several hours, depending on the strength of the remover and the type of adhesive used on your lash extensions.
-
Gently remove the extensions: Once the remover has had time to dissolve the adhesive, it’s time to gently remove the extensions. Using the lash extension brush, carefully lift each lash extension off of your natural lashes. Be gentle and avoid pulling or tugging, as this can damage your natural lashes.
-
Clean your lashes: After you’ve removed all of the lash extensions, it’s important to clean your lashes and remove any remaining traces of adhesive. Use a gentle cleanser or oil-based makeup remover to gently cleanse your lashes, being careful not to rub or scrub too hard.
-
Moisturize your lashes: Finally, after you’ve removed your lash extensions and cleaned your lashes, it’s important to moisturize your natural lashes to keep them healthy and strong. Use a nourishing lash serum or oil to moisturize and condition your lashes, and be sure to avoid using any heavy or oil-based products that could weigh down your natural lashes.
Removing lash extensions at home can be a bit of a daunting task, but with the right tools and techniques, you can safely and effectively remove your extensions without damaging your natural lashes. Just be sure to take your time and be gentle, and your natural lashes will be back to their beautiful, healthy selves in no time.

